How to Make Paint Stick to Shiny Surfaces
Ever tried painting over a glossy surface and watched your paint slide right off?
That’s because high-gloss finishes are designed to repel moisture, dirt, and yes—new paint.
The key to a flawless, lasting finish isn’t just the color you choose—it’s how you prep the surface before you even open the can.
At Black Mountain Painting, we know that the difference between an amateur paint job and a professional result comes down to one thing: prep work.
Why Glossy Surfaces Are Tricky
Glossy paints and finishes contain resins that create a slick, non-porous surface.
That’s great for durability—but terrible for adhesion.
If you try painting directly over it, you’ll end up with chipping, peeling, or uneven coverage within weeks.
Common glossy surfaces that need special prep include:
Trim and baseboards with oil-based enamel
Kitchen cabinets
Doors and furniture
Bathroom walls with high-moisture paint
Previously varnished wood
Step 1: Clean the Surface
Before de-glossing, the surface must be completely clean.
Grease, dust, or residue will interfere with adhesion even more than the gloss itself.
What to do:
Use a degreasing cleaner like TSP (trisodium phosphate) or a mild detergent.
Rinse thoroughly and let dry completely.
Step 2: De-gloss the Right Way
There are two main ways to de-gloss: manual sanding or chemical de-glossing.
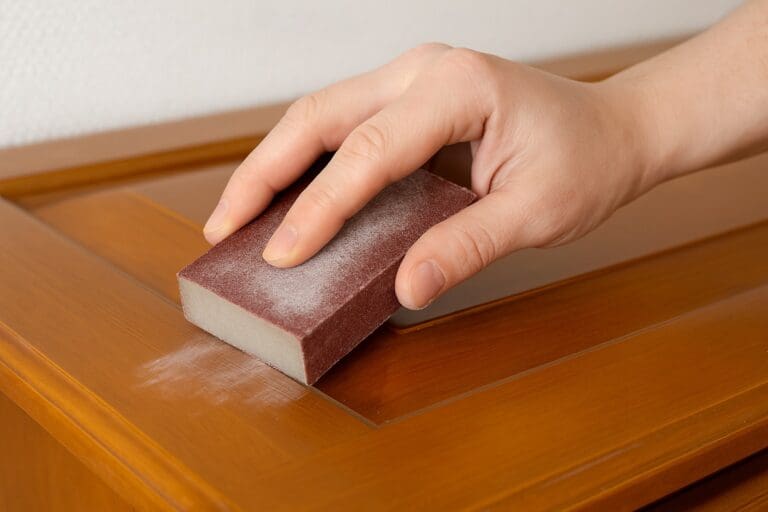
Sanding
Use 180- to 220-grit sandpaper or a sanding sponge.
Lightly scuff the surface to remove the sheen.
Wipe clean with a damp cloth afterward to remove dust.
Liquid De-glosser (Liquid Sandpaper)
Apply with a lint-free cloth following the product’s instructions.
It chemically etches the surface to help paint stick—no dust involved.
Ideal for trim, cabinets, or detailed woodwork where sanding is difficult.
Step 3: Prime for Success
Even after de-glossing, primer is non-negotiable.
A high-quality bonding primer creates a sticky layer that ensures long-term adhesion.
Pro tip:
Use an oil-based or shellac primer when painting over older oil-based glossy finishes.
For latex topcoats, water-based bonding primers work great.
Step 4: Paint Like a Pro
Once the surface is clean, dull, and primed, apply your paint in thin, even coats.
Two coats typically provide the best coverage and durability.
Recommended finishes for a refreshed look:
Satin or semi-gloss for trim and doors
Matte or eggshell for walls
Enamel finishes for cabinets or furniture
Common Mistakes to Avoid
Skipping primer—it’s the #1 cause of peeling paint.
Over-sanding and damaging the base material.
Painting before the surface is dry.
Using the wrong primer for the surface type.
Final Word
Painting over glossy surfaces doesn’t have to be intimidating.
With proper cleaning, de-glossing, and priming, your paint will stick, stay, and look professional.
Whether it’s trim, cabinets, or high-traffic doors, our team at Black Mountain Painting knows how to prep, prime, and perfect every surface.
Ready to refresh your space? Contact us today to bring expert prep and lasting results to your next paint project.